
How to manage your calendar in Metricool
Use the tools in Planning to review your content calendar more easily. You can move between dates, set the time zone, filter posts, and change how the calendar is displayed.

Move through the calendar
Use the date controls at the top of the planner to move through your content calendar.
- Click the arrows to move to the previous or next period.
- Use This week to return to the current week.
- Click the date range to open the calendar selector.
Set the time zone
The planner shows the active time zone next to the current time. Review it before scheduling if you manage content for different brands or regions.
Choose the first day of the week
The first day of the week also affects how the calendar is displayed, but this setting is managed from your account settings instead of the planner toolbar.
- Open the ☰ menu (top right corner)
- Go to Account Settings.
- Within the Account tab, in Preferences, open First day of the week
- Select Sunday or Monday.
- Click Save changes.
Filter your calendar
Use filters when you want to focus on a specific part of your content plan.
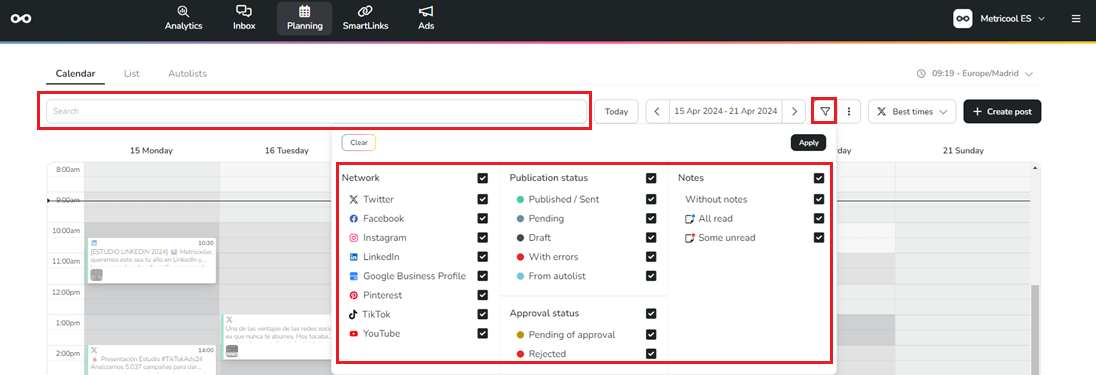
- In Planning, click the filter button.
- Select the filters you want to apply.
- Click Apply.
You can filter the planner by Social Network, Publication status, Approval status, and Notes. You can also use the search bar to find a specific post faster.
Change Calendar view
Calendar view changes the planner period. You can switch between these views:

- Day: focus on one day only.
- Week: review your weekly plan.
- Month: see a broader monthly view.
- Open Planning.
- Click the three dots menu.
- Click Calendar view.
- Select Day, Week, or Month.
Use Calendar zoom
Calendar zoom changes the visual density of the planner.

- Condensed: shows more content in less space.
- Normal: keeps the default balance for daily use.
- Expanded: gives each calendar block more space.
- Open the three dots menu in Planning.
- Click Calendar zoom.
- Select Condensed, Normal, or Expanded.
Use other planner tools
You can access additional calendar functions from the three dots menu:

- Social Calendars: show highlighted dates and imported calendars in your planner.
- Import CSV: import posts in bulk from a CSV file.
- Export CSV: export your planned content.
- Preview feed: check how your Instagram grid will look before publishing.
- Notifications: manage planner notifications.
The toolbar can also show other shortcuts, such as the media icon for services like Canva or Google Drive, depending on your plan.
Related articles
Updated on: 24/03/2026
Thank you!