
How to add a cover (thumbnail) to your posts
What networks can I include a cover on?
When scheduling a video, you can customize the thumbnail by either uploading an image or selecting a frame from the video. Here’s what each social network allows:
Social network | Upload custom image | Select video frame | Notes |
|---|---|---|---|
✅ | ✅ * | Available for videos and Reels | |
✅ | ✅ | For Reels only. Not available for Stories. | |
✅ | ✅ * | ||
❌ | ✅ | ||
TikTok | ✅ (Business) | ✅ * | You can also choose a carousel image as the cover |
YouTube | ✅ | ✅ * | Not available for Shorts due to YouTube API limitations. |
*To select a frame from the video, click on "Upload video thumbnail" — the frame selector will appear within that same option.
Dimensions
These are the recommended sizes for thumbnails:
Facebook and Instagram: 1080px x 1920px
LinkedIn: 1280px x 720px
YouTube: 1280px x 720px
How to set up the cover?
To add the cover page follow these steps:
Go to Planning.
Tap 'Create publication' or choose the time directly from the calendar
Select the network/networks you want to publish to
Attach the video (you can import the file from your device or from url, or use the video bank)
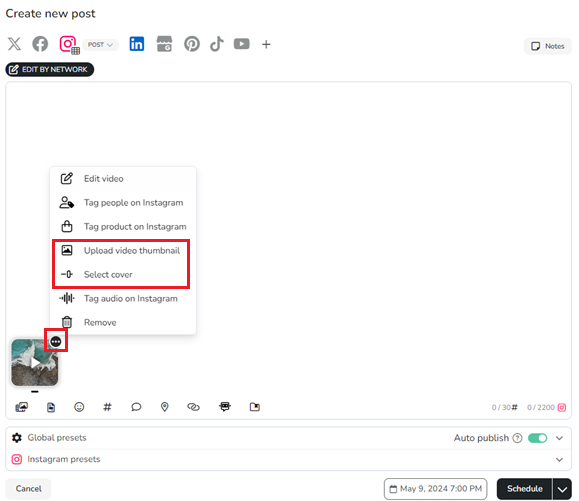
Click on the three dots of the video and select "Upload video thumbnail or Select cover" (the options shown will depend on the selected social networks)
Remember that you can edit the content of the post per social network.
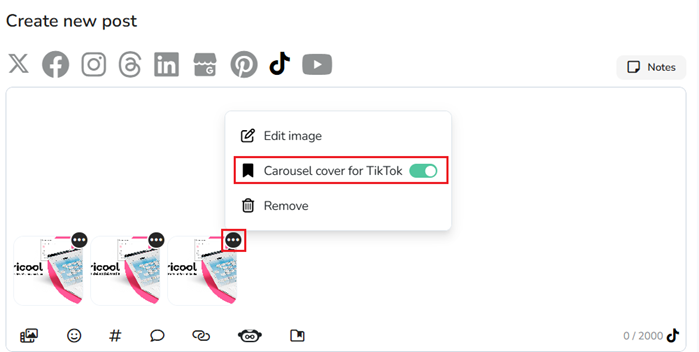
Additionally, TikTok allows you to select an image as the cover for your carousels. Choose the image and enable "carousel cover for TikTok."
Upload a cover or video thumbnail
Upload the file by clicking to import from your device or drag the image directly. You can also import from URL (the link must be public).
Once imported, click Accept.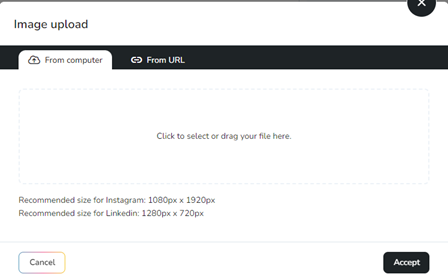
Select Cover
Scroll over the line to select the frame of the video. Once selected, click anywhere in the post to exit and apply the selection.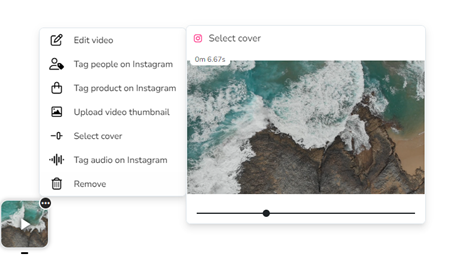
Add the text to the post and review in the preview.
Set the date and time and click on 'Schedule'.
Related articles