
How to set your time zone in Metricool
Updated last month
Set the time zone that Metricool uses for your account and for each brand in the planner. Your account time zone is the default, and each brand can override it in the planner for its own scheduling.
Set your account time zone
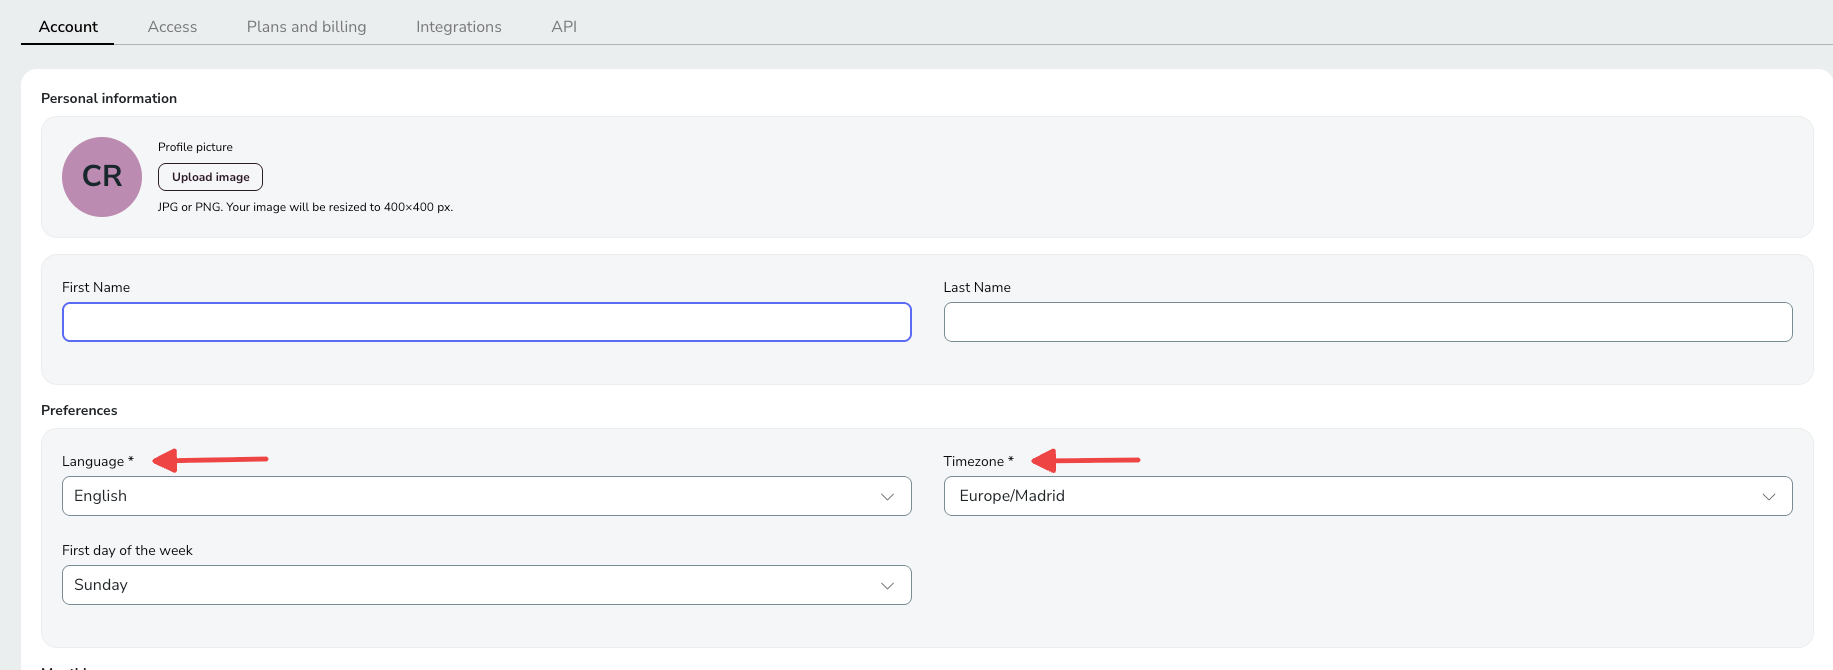
Your account preferences include the time zone and the first day of the week. Both are account-level settings, and the first day of the week controls how your planner calendar is laid out.
Open the ☰ menu (top right corner).
Go to Account Settings.
Within the Account tab, in Preferences, select your time zone.
Set the first day of the week (Monday or Sunday). This determines which day starts each week in your planner calendar.
Click Save changes.
Set the time zone in the planner (per brand)
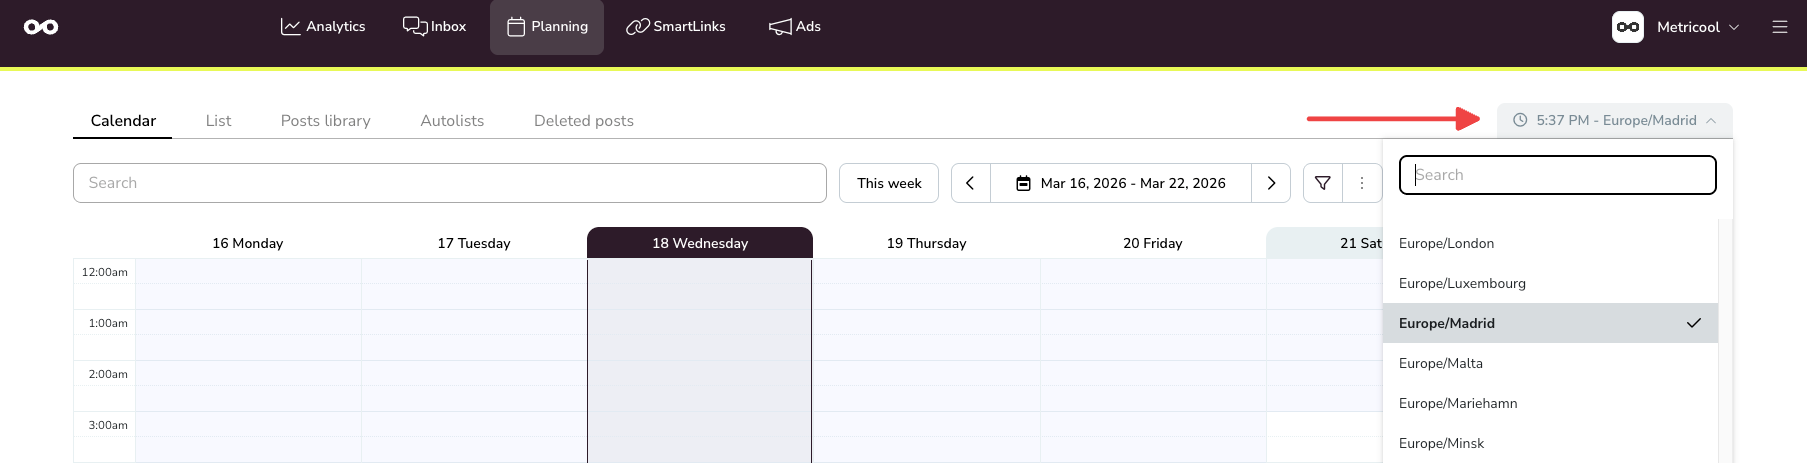
When you schedule a post, the planner uses the time zone shown next to the current time at the top of the calendar. By default, this is the time zone from your account settings, but each brand can have its own time zone configured in the planner.
Open Planning and go to the brand you want to review.
Look at the time zone shown next to the current time at the top of the calendar.
If it is not the one you expect, open the dropdown next to the current time and select the correct time zone for that brand.
If you manage content for different brands or regions, review this setting before scheduling. See How to manage your calendar in Metricool for details on how the planner shows and changes the active time zone.
If a scheduled post still shows an unexpected time with everything set correctly, the cause is often the system clock (Windows or Mac) not being synced with your browser. See Why does my scheduled post show an incorrect time? to diagnose it.